Contents
Takes about 30 seconds
The first 48 hours
If they are wet right now: separate them, lay them out face up on absorbent paper, and put a fan on in the room. Do not use heat. Do not stack them. Deal with the drying today and worry about everything else later.
The reason for the hurry is mould. Published conservation guidance puts the window at around 48 hours in ordinary warm conditions, and mould on a photograph is not a stain you clean off: it causes permanent staining, weakens the emulsion and can take the image away with it. Water on its own is survivable. Water plus two warm days usually is not.
Everything in the next four sections comes from the National Archives guidance on flood-damaged family papers and NEDCC preservation leaflet 3.7, read on 3 November 2026. We restore scans for a living and we are not conservators; where those two sources and our commercial interest point in different directions, follow them.
How to air dry them
Air drying is the preferred method whenever you have the space and the time for it, and for most household quantities you do.
- Separate the photographs from each other and from any albums, envelopes or frames, gently, while they are still wet.
- Lay each one face up, flat, on absorbent material: blotting paper, unprinted newsprint, paper towels or clean cloth.
- Change the material underneath as it becomes saturated.
- Keep the air moving with a fan. This speeds the drying and cuts the mould risk, which is the whole point of the exercise.
- Leave them alone until they are dry. They will curl; that is normal and can be dealt with afterwards.
No heat. No hairdryer, no radiator, no airing cupboard, no direct sun. Heat cooks the gelatin emulsion and can make it stick, melt or crack, which turns a recoverable photograph into a lost one. Moving air at room temperature is the method.
Do not blot the face of the print. A wet emulsion is soft, and pressing anything onto it lifts the image. Absorbent material goes underneath, never on top.
When to freeze, and when never to
Freezing is the standard answer when there is too much to dry at once. It stops mould and buys you time. It also comes with an exception that matters enormously for exactly the photographs people care about most.
- Freeze: modern prints, in quantity
- Anything that cannot be air dried within about two days should be frozen to inhibit mould. For a flooded box of contemporary prints this is the right call: freeze them, then thaw and dry in batches at your own pace.
- Never freeze: old or vintage photographs, and negatives
- The guidance is explicit about this exception. Old photographs and negatives should not be frozen. Air dry them individually, face up, however long that takes and however many surfaces you have to clear to do it. If you have a mixed box, this is the sorting rule: anything old comes out and gets dried by hand.
If you do freeze, the point is only to pause the damage. The photographs still have to be dried properly afterwards, by the same method as above.
Prints stuck together or to glass
The most common way people destroy a photograph they were trying to save. The rule is the same in both cases: do not pull.
- Still wet and stuck together
- Soaking contemporary prints in cold water may separate them, but the published guidance says plainly that this risks irreversible harm. If the prints are highly valued, and particularly if no negative exists, take them to a conservator instead of trying it.
- Dried together
- Do not attempt to separate them. The emulsion has bonded and pulling takes the image off one of the two. This is a conservator's job.
- Stuck to the glass in a frame
- Remove the backing material first. If the photograph is not adhered to the glass, lift it out and air dry it normally. If it is stuck to the glass, dry the whole frame intact with the glass side down, and leave the separating to somebody with the training.
When to stop and call somebody
There is a line past which doing nothing is better than doing your best, and it is worth knowing where it falls before you reach it.
The published advice is that objects of high monetary, historic or sentimental value should only be treated in consultation with a conservator, and the American Institute for Conservation maintains a referral service. In practice that means: prints that have dried together, anything with visible mould growth, photographs stuck to glass, and the one surviving photograph of somebody where there is no negative and no second copy.
For everything else, which is most of a flooded box, careful drying followed by scanning gets you a long way, and the remaining staining is a digital problem rather than a physical one.
Restoring the scan afterwards
Once the photographs are dry, scan them at 600 dpi and work on the files. There is a short guide to doing that part properly in how to restore old photos. Never put a wet or damp photograph on a scanner: the emulsion is soft, the glass will lift it, and you will damage the scanner as well.
No scanner? Photograph it with your phone. It works, and for a lot of people it is the only realistic option after a flood. Lay the dried print on a flat surface near a window, turn the flash off, hold the camera parallel rather than at an angle, and keep your shadow out of the frame. Then upload it and pick Restore. Be clear-eyed about the trade, though: the better the capture, the better the result. A 600 dpi scan gives the model far more to work with than a phone photo taken at an angle in a dim room, and no amount of processing invents detail your capture did not record.
How we actually do it
Everything happens automatically. You do not retouch anything, there are no layers, no masks and no sliders: you drag the file in, choose Restore, and about thirty seconds later a repaired 1080p version is ready to download. Several photographs can be queued at once, which matters when a flood has left you with a box of them rather than one.
What runs in those thirty seconds is a set of AI models trained on very large numbers of photographs, damaged and undamaged. That training is what lets a model recognise a tidemark, a bloom of staining or a lifted patch of emulsion as damage rather than as part of the picture, and then rebuild that region from the image surrounding it. It is the same judgement a retoucher makes by hand in Photoshop, arrived at statistically instead of deliberately, which is why it is seconds rather than hours and under a dollar rather than $50.
The honest limit follows from the same mechanism, and it is worth repeating here: the model rebuilds from what surrounds the damage. Where the surroundings are gone it predicts instead, and a prediction looks exactly as convincing as a recovery. That is fine on a stained background and it is something to check carefully on a face.
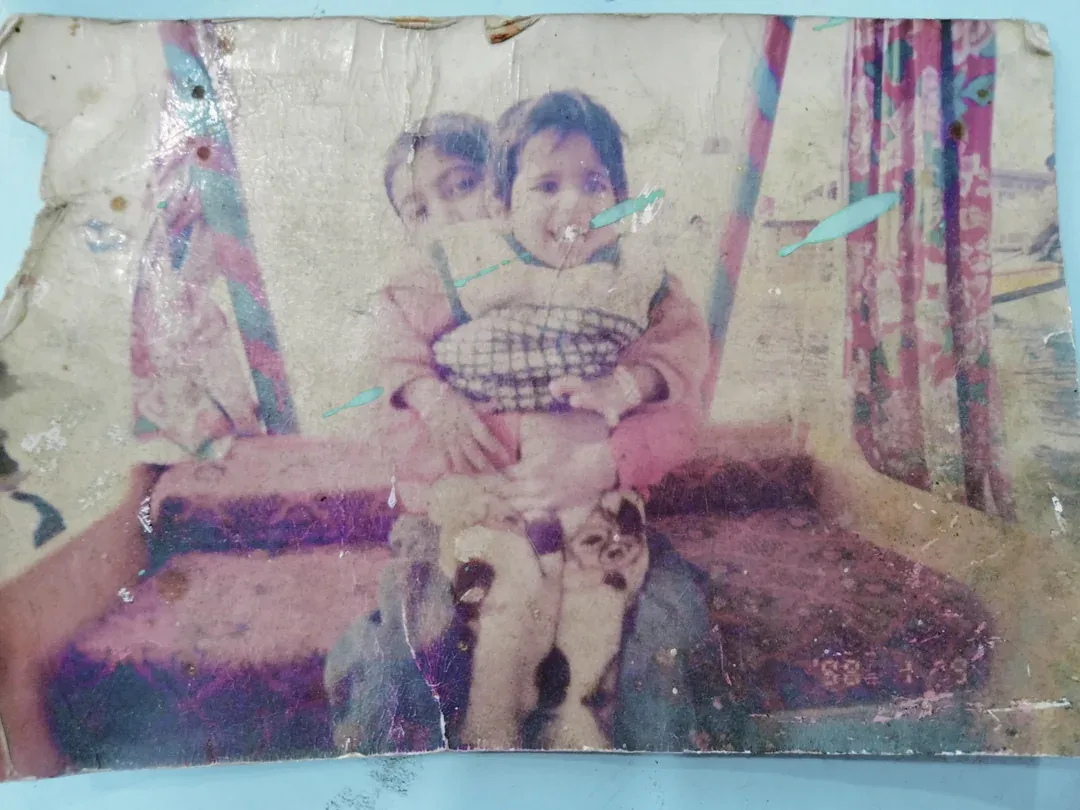
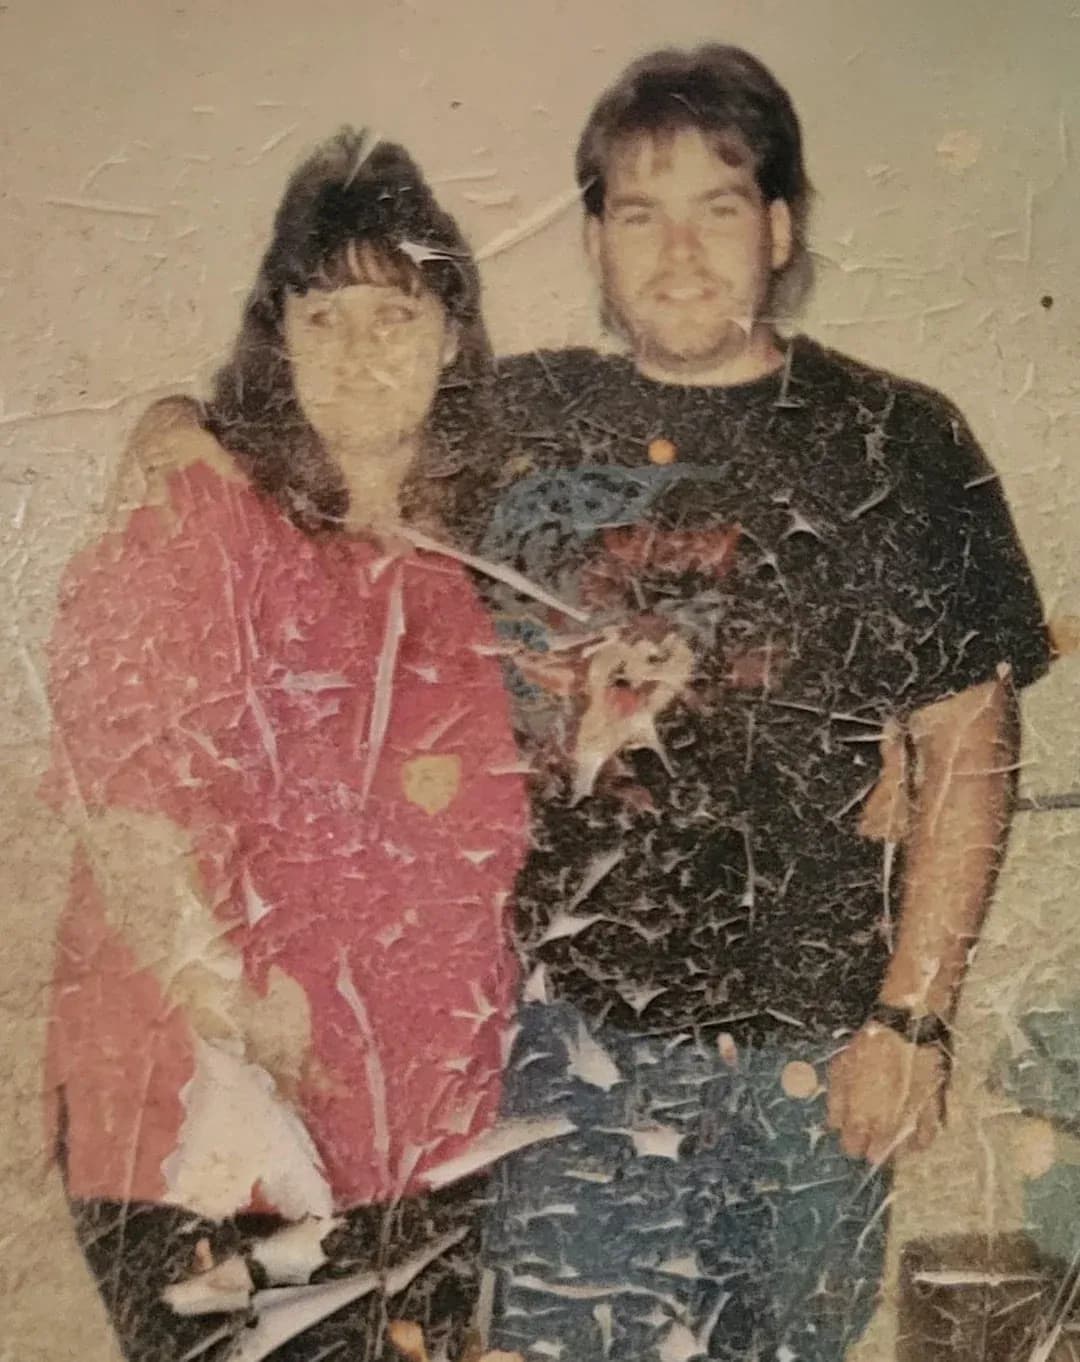
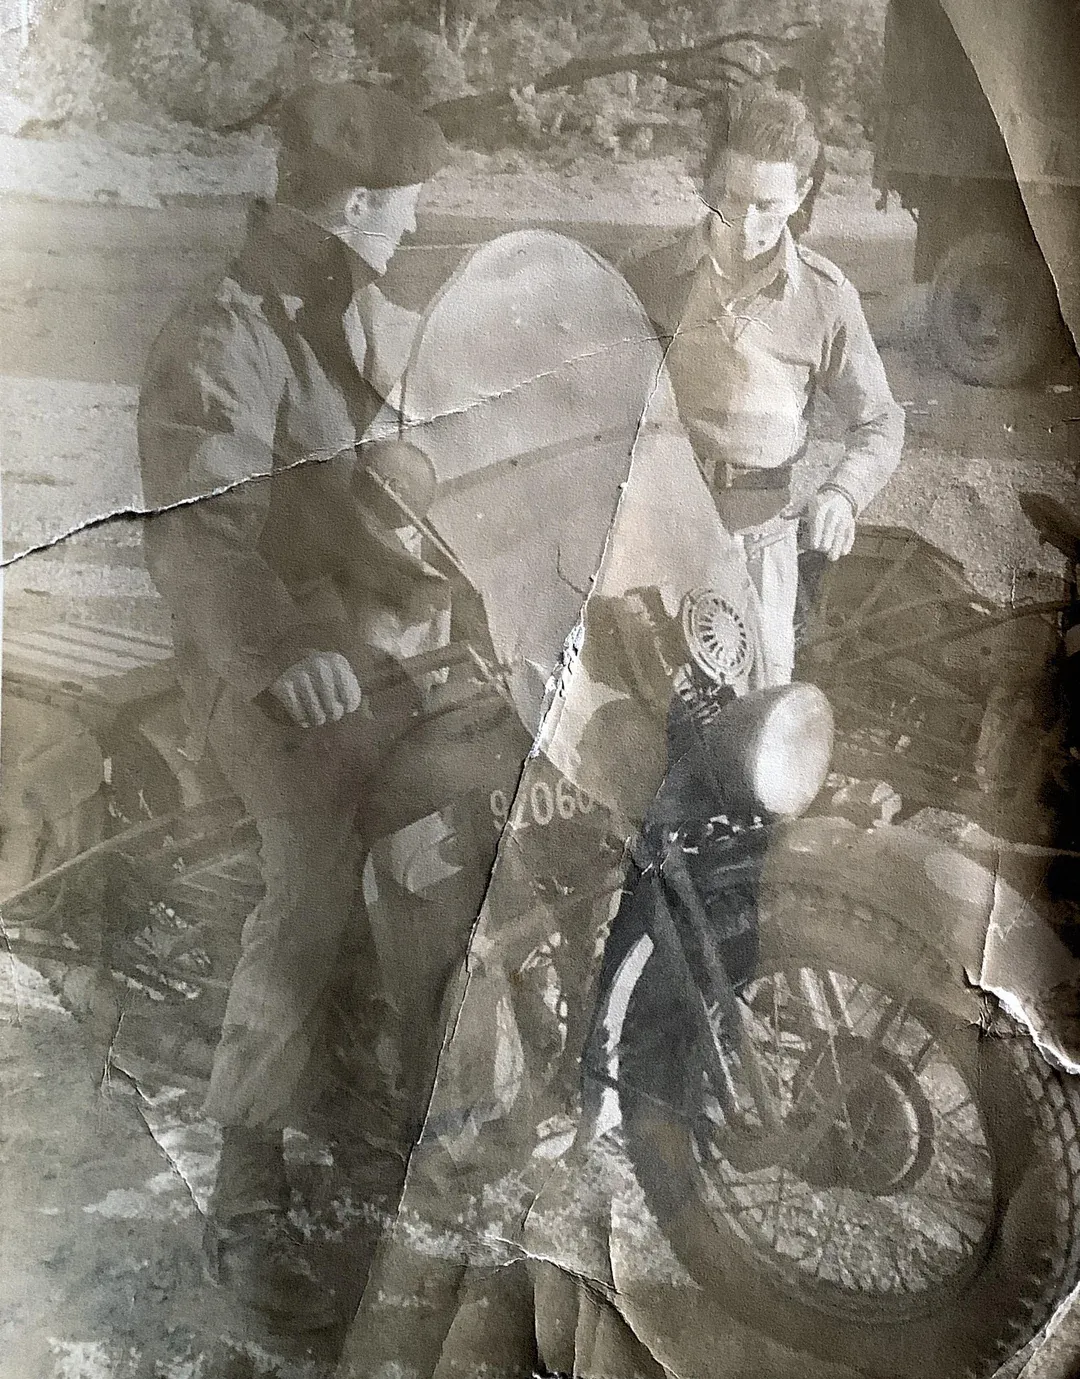
What restores well: tidemarks, the mottled brown blooming water leaves behind, overall discolouration, and the softness that comes with it. All of those are surface damage with intact image underneath and around them, which is the case this kind of model handles properly.
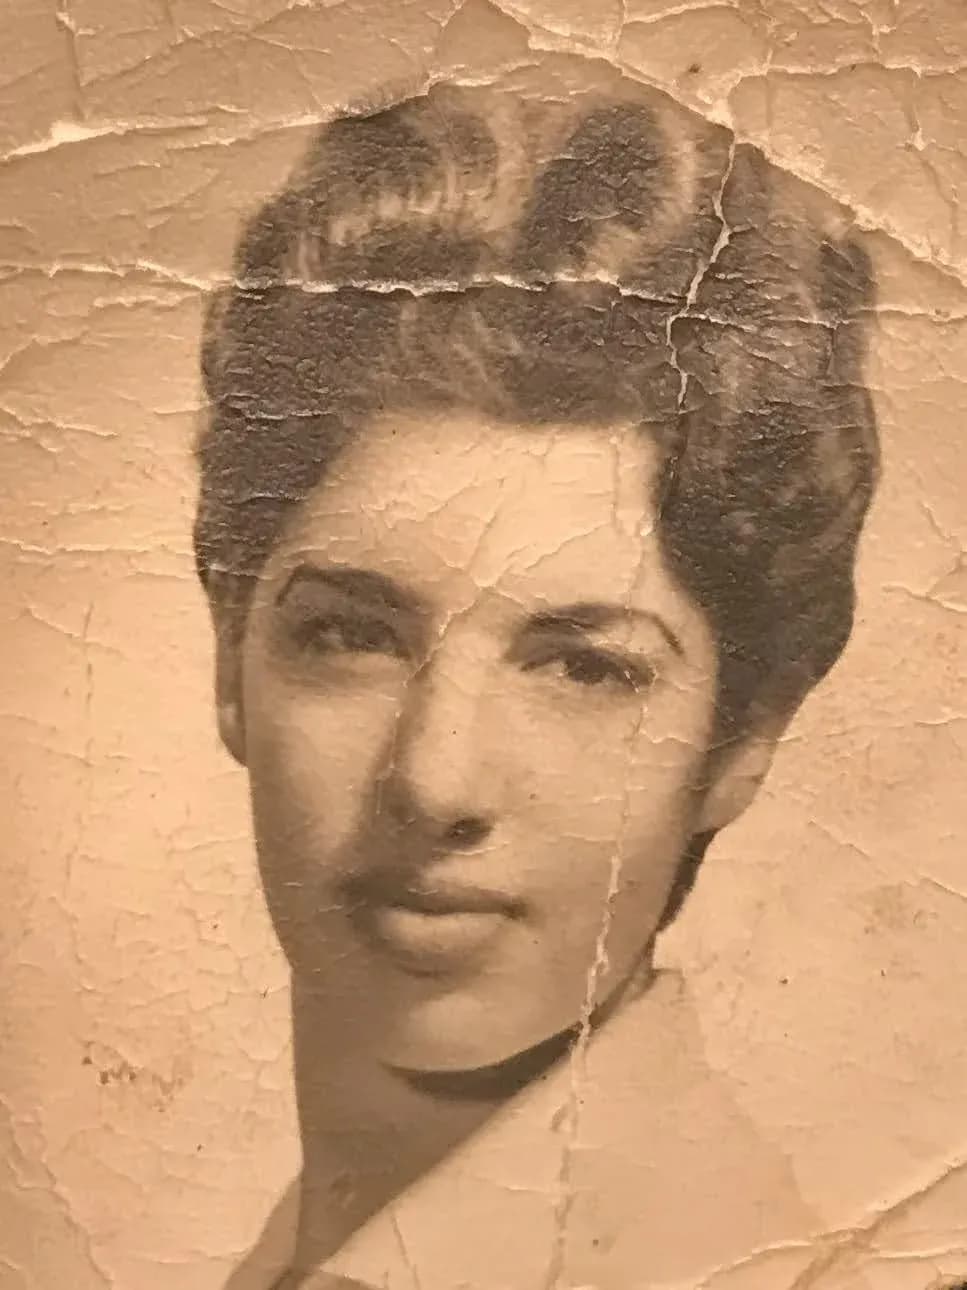
What does not: areas where the emulsion lifted, dissolved or flaked away. There is nothing underneath to recover, so the model invents something plausible instead. On a background that is fine. Across a face it is a new face, and you should know which you are looking at. That distinction is set out in more detail in what it repairs and what it invents.
One credit restores one photo, and a credit is between $0.44 and $0.70 depending on the pack. Nothing renews, and the credits do not expire, which matters after a flood: you will be dealing with this for months and in bursts.
| Pack | Photos | Price | Full 1080p | No watermark | Never expires | |
|---|---|---|---|---|---|---|
| Basic | 10 | $6.99$0.70 each | Full 1080p: included | No watermark: included | Never expires: included | Buy |
| Plus | 25 | $16.99$0.68 each | Full 1080p: included | No watermark: included | Never expires: included | Buy |
| Probest value | 50 | $29.99$0.60 each | Full 1080p: included | No watermark: included | Never expires: included | Buy |
| Studio | 100 | $54.99$0.55 each | Full 1080p: included | No watermark: included | Never expires: included | Buy |
| Max | 250 | $109.99$0.44 each | Full 1080p: included | No watermark: included | Never expires: included | Buy |
One credit restores one photo. Every pack includes the same everything: nothing is held back for the larger ones, and the only difference is how many photos you get.
Questions people ask
Can water damaged photos be saved?
Often, and how well depends almost entirely on what you do in the first two days rather than on any software afterwards. Mould can begin growing within 48 hours in ordinary warm conditions, and mould causes permanent staining and loss of the emulsion, which is the layer the picture lives in. A photograph that is dried properly and promptly usually survives with staining and some surface damage, both of which are repairable digitally. A photograph left wet in a pile for a week often does not survive at all.
How do I dry wet photographs?
Lay them out individually, face up, flat on absorbent material such as blotting paper, unprinted newsprint, paper towels or clean cloth, and change that material underneath as it becomes saturated. Keep air moving over them with a fan, which speeds drying and reduces the chance of mould. Do not use heat: no hairdryer, no radiator, no sunlight. That guidance is from the National Archives and NEDCC, not from us.
Should I freeze water damaged photos?
Only contemporary prints, and only if you cannot air dry them within about two days. The published guidance is explicit on the exception: never freeze old or vintage photographs or negatives. For a box of modern prints after a flood, freezing buys you time and prevents mould while you work through them. For your grandmother's photographs, air dry them individually instead, however long it takes.
What if the photos are stuck together?
If contemporary prints are still wet and stuck, soaking them in cold water may separate them, but the published guidance is clear that this risks irreversible harm. Never try to pull apart prints that have dried together. If the photographs are highly valued, and especially if no negative exists, the advice is to take them to a professional conservator immediately rather than attempting it yourself. The American Institute for Conservation provides referrals.
What about a photo stuck to the glass in a frame?
Take the backing material off first. If the photograph is not adhered to the glass, lift it out and air dry it face up like any other. If it is stuck to the glass, do not try to separate them: dry the whole frame intact with the glass side down. That is the National Archives instruction, and the reason is that pulling a wet emulsion off glass takes the image with it.
Can photos with mould be saved?
The image often can, the print usually cannot be returned to how it was. Mould is the reason for the 48-hour rule: published conservation guidance is explicit that it causes permanent staining, weakens the emulsion and can take the image away with it. Once growth is visible the photograph is a conservator's case rather than a drying job, and mould is a health matter as well, so handle affected material in a ventilated space rather than brushing spores around a room. What does work is digital: scan what survives and the staining and discolouration left behind are ordinary damage that fills in from the surrounding image.
My phone got wet. Can you recover the photos from it?
No, and it is worth separating the two problems because search engines mix them constantly. This page is about photographic prints that got wet. Recovering files from a water-damaged phone or memory card is data recovery, done with different software or by a repair shop, and nothing here helps with it. If that is your problem, stop using the device, do not charge it, and take it somewhere specialised. If you have already recovered the files and they are damaged images rather than wet paper, then we can help.
Is there a free way to restore water damaged photos?
The drying is free and it is the part that matters most, so do that first regardless. For the digital repair afterwards, free tools exist and most of them recover their cost with a watermark, a download capped at a few hundred pixels, or a card for a trial that renews. We set out which ones are genuinely free, and what each of the others actually costs you, in our guide to free photo restoration.
Can AI remove water stains from a photo?
From a scan of a dried photograph, yes, and this is the part that works well. Water staining, tidemarks, blooming and the mottled discolouration left behind are treated as damage and filled in from the surrounding image. What AI cannot do is recover emulsion that lifted off or dissolved, because there is nothing underneath to work from: those areas get plausibly invented rather than restored. Dry and scan first, then restore the file.
Should I scan water damaged photos before or after drying?
After, always. A wet photograph should not go anywhere near a scanner: the emulsion is soft and fragile when wet, pressing it against glass can lift it, and you risk damaging both the photograph and the scanner. Dry it properly first using the method above, then scan at 600 dpi, then restore the file.
Salvage guidance on this page is from the National Archives and NEDCC, read on 3 November 2026. We are a photo restoration tool, not conservators; for anything irreplaceable, consult one.