Contents
Takes about 30 seconds
Can grain actually be removed?
Yes, and quickly. The real question is which kind you have, because the answer changes whether you should.
Software removes speckle by deciding which small variations in the image are the picture and which are interference, then smoothing the second group. That decision is a judgement, not a measurement, and it is where every denoiser either earns its keep or ruins the photograph. Good noise reduction is almost invisible. Bad noise reduction is instantly recognisable: skin goes smooth and waxy, hair turns into a single mass and fabric loses its weave.
Three different problems
- Film grain
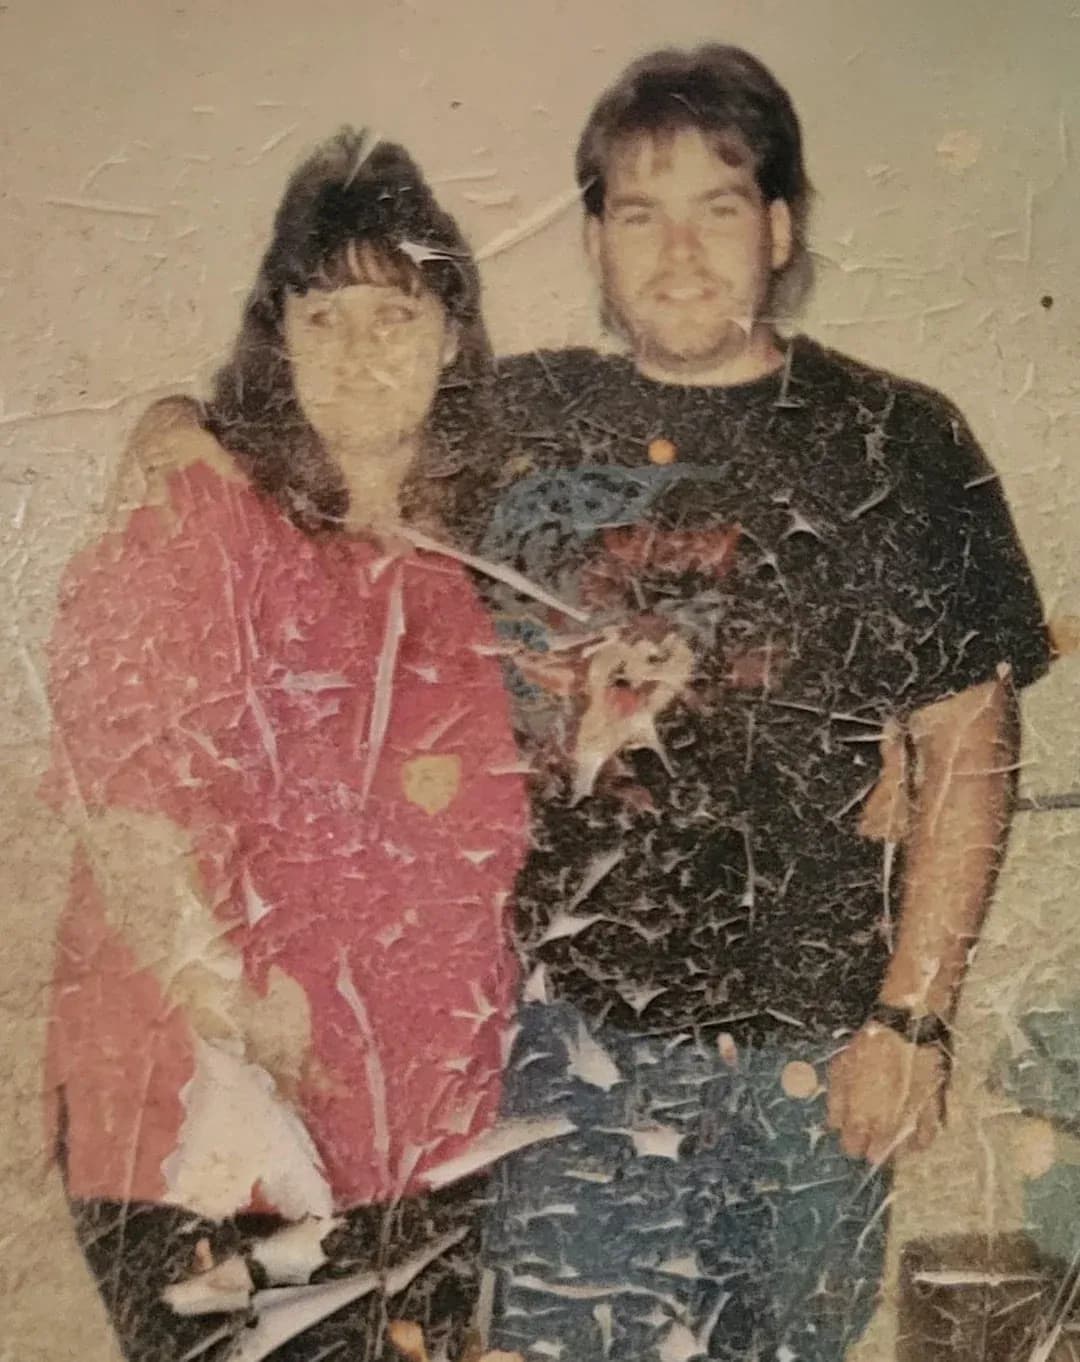
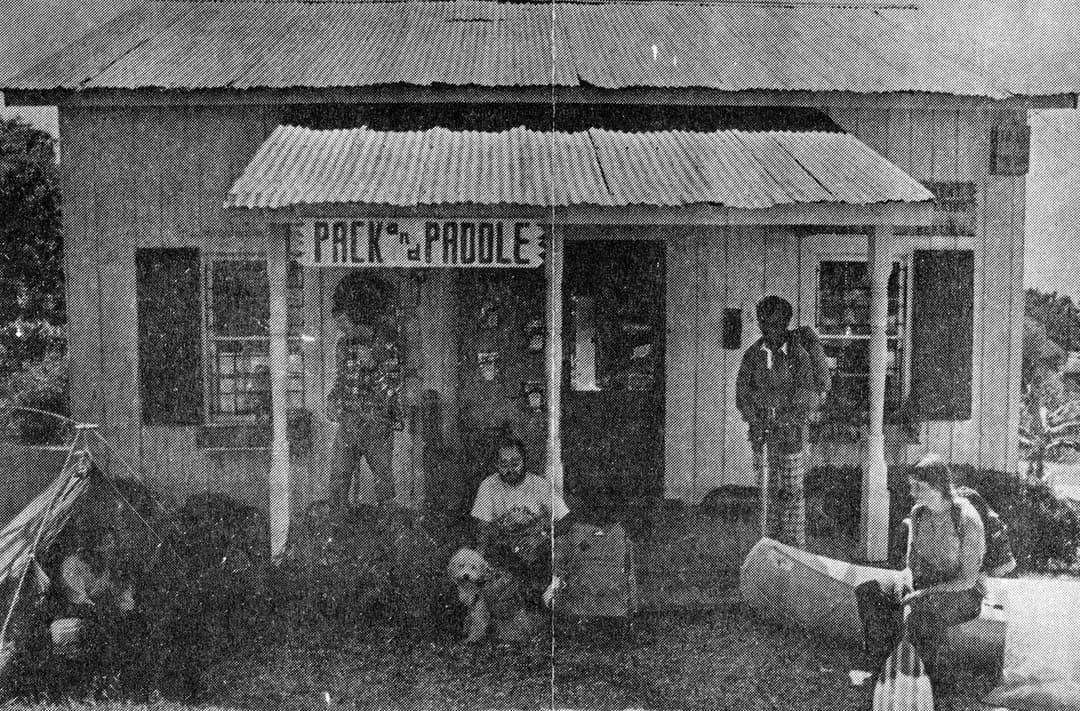
- Physical. Film records light in clumps of silver halide, and on fast film or a big enlargement you can see them. It is not damage and it is not an error: it is the mechanism by which the photograph exists. It usually looks even and organic, and it is the same across the whole frame.
- Digital noise
- Electronic. A sensor in low light amplifies a weak signal and amplifies its own error with it. Worst in shadows and in flat areas like a wall or a sky, often slightly coloured, and random rather than even. This is the one denoising was invented for.
- Scanner speckle
- Added after the fact, by the scanner rather than by the photograph. It sits on top of whatever grain was already there, which is why a scanned film print can appear to have two layers of texture. Removing this layer is almost always right, and it is the most commonly misdiagnosed of the three.
The practical test is to look at a flat area at full size. Even, colourless texture across the whole frame is grain. Blotchy, faintly coloured speckle concentrated in the dark areas is noise.
When to keep the grain
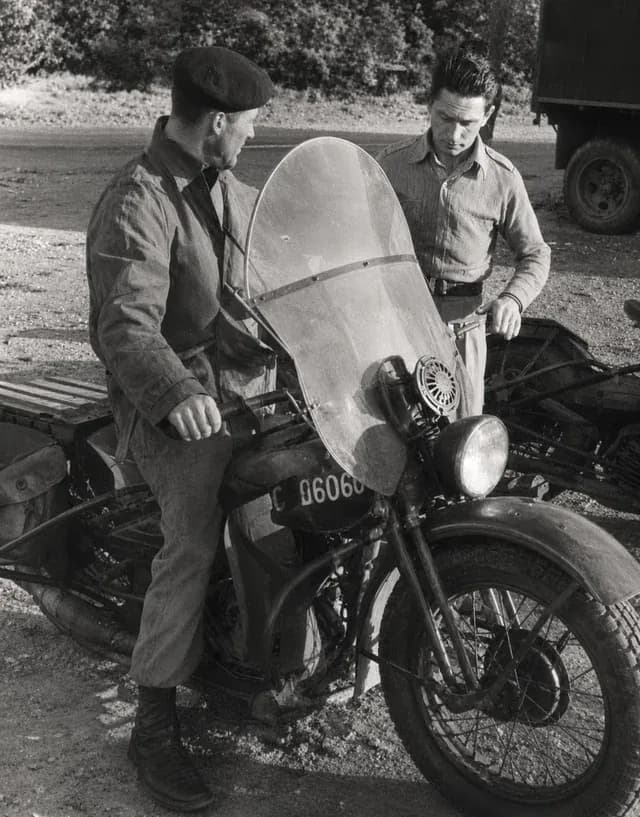
This is the part most tools will not tell you, because they are selling the removal. Grain carries the age of a photograph. A portrait from the 1950s with every trace of it smoothed away stops reading as a photograph from the 1950s and starts reading as an illustration of one. The detail goes with it: what looks like grain at 100 percent is often the texture of a tweed jacket or the individual strands of someone’s hair.
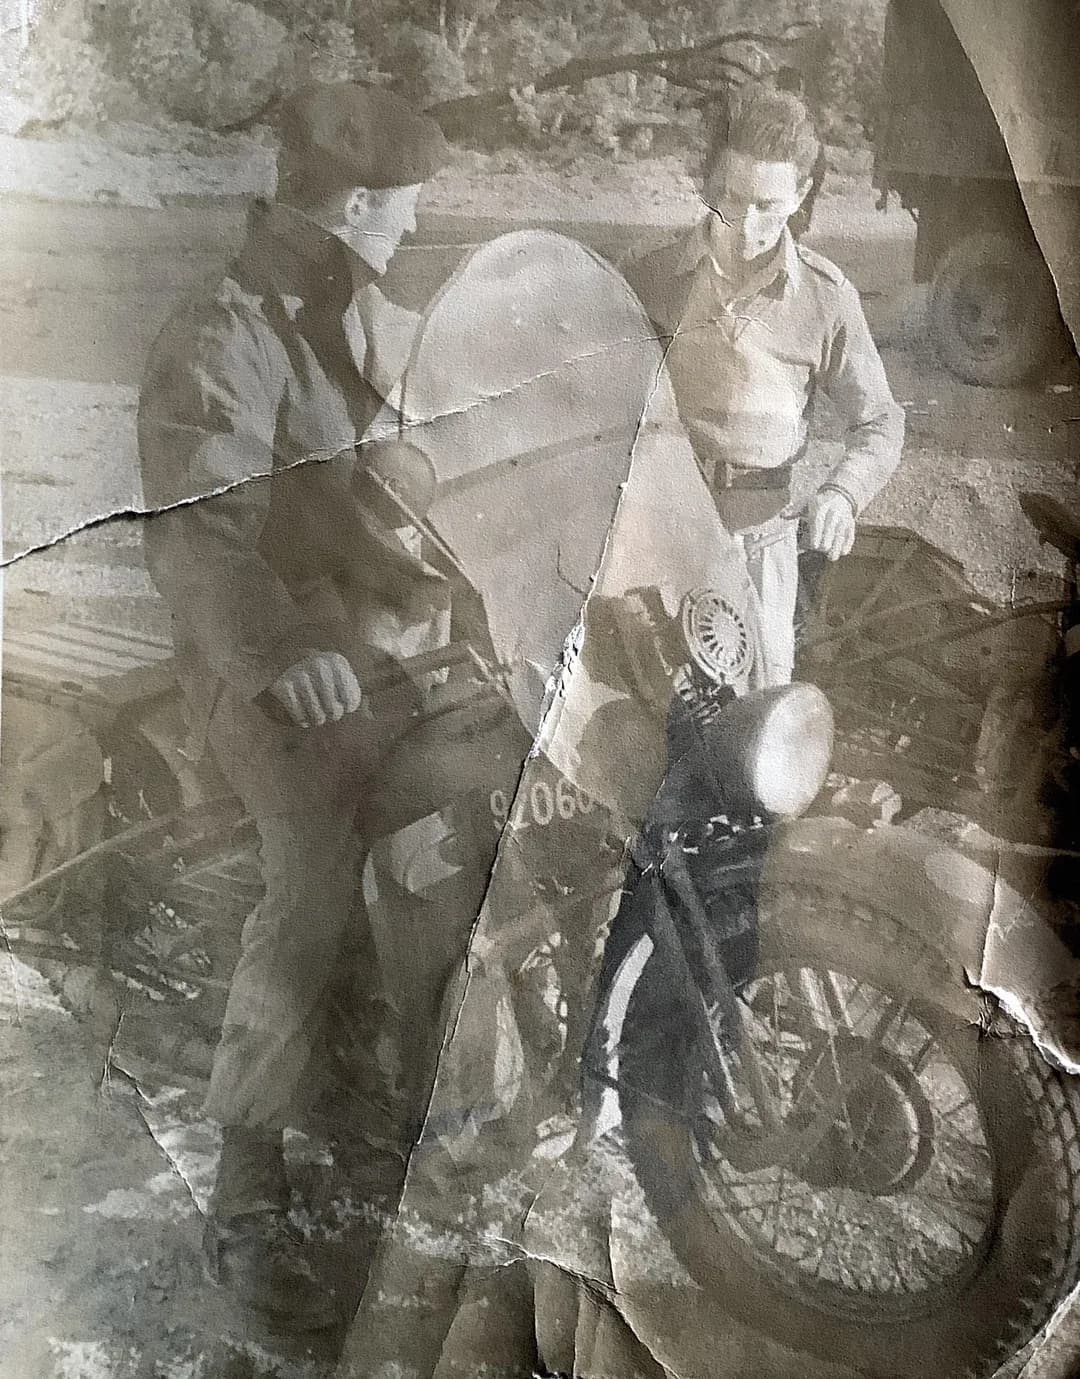
A better order of work on an old print is to fix what is genuinely wrong first. Repair the damage, correct the fading, then look again. Grain that seemed intolerable next to a yellow cast and a scratch very often looks fine once those are gone. If the print is faded or damaged rather than noisy, start with old photo restoration instead of here.


The waxy skin problem
If you have ever denoised a portrait and thought the person looked slightly wrong afterwards without being able to say why, this is it. Skin has fine texture: pores, small lines, the variation that makes it look like skin. That texture lives at the same scale as noise, so a denoiser strong enough to clear the speckle clears the texture too. What is left is smooth, even, and subtly inhuman.
Our Reduce Noise style is tuned against exactly this, which is why it leaves some speckle rather than chasing a perfectly clean result. If you want it cleaner than that, the honest route is a desktop editor with a slider, where you can decide how much texture you are willing to trade.
Doing it here
Upload the photograph, pick Reduce Noise from the style bar and download the result. It takes about thirty seconds and costs one credit. There is no slider, which is the trade: it is one good decision made for you rather than ten decisions you have to make yourself.
If the photograph has more than one thing wrong with it, run it twice rather than expecting one pass to do everything. Noise and damage are separate jobs, and so is softness, which belongs to unblurring rather than here. Running de-noise on a blurry photo will not sharpen it, and running sharpening on a noisy photo makes the noise worse.
Lightroom, Photoshop and the slider route
If you already own either, try them first. Both include noise reduction with separate controls for luminance and colour noise, and for mild digital noise they are genuinely better than a one-click tool, because you can stop at the point where the speckle is acceptable and the texture survives.
| If you have | Best route | Why |
|---|---|---|
| Mild digital noise, and Lightroom | Lightroom sliders | Control beats automation when the problem is small |
| A scanned print with speckle | One pass here | The speckle is an added layer, not the photograph |
| A phone photo taken in a dark room | One pass here | Sensor noise is what denoising is actually for |
| Film grain on a print you like | Leave it | It is the photograph, not a fault in it |
| Noise and damage together | Repair first, then judge | Fixing the damage often settles the grain question |
What it gets wrong
Stated plainly, because a page that only sells the upside is an advert.
- Fine texture goes with the noise. Lace, tweed, stubble and hair are the first things to suffer, because at the pixel level they look like the thing being removed.
- Very heavy noise cannot be cleaned without invention. Past a certain point there is no signal left underneath, and what you get back is the model’s idea of what was probably there.
- It will not fix blur. Different problem, and de-noising a soft photo makes it softer.
- There is no strength control here. One pass, one decision. If you need to dial it in, a desktop editor is the right tool and we would rather say so.
If a result does not come out right, we refund unused credits within 30 days.
What it costs
One credit per photograph, in any style, bought once. Nothing renews and credits do not expire, so a half-used pack waits until the next batch.
| Pack | Photos | Price | Full 1080p | No watermark | Never expires | |
|---|---|---|---|---|---|---|
| Basic | 10 | $6.99$0.70 each | Full 1080p: included | No watermark: included | Never expires: included | Buy |
| Plus | 25 | $16.99$0.68 each | Full 1080p: included | No watermark: included | Never expires: included | Buy |
| Probest value | 50 | $29.99$0.60 each | Full 1080p: included | No watermark: included | Never expires: included | Buy |
| Studio | 100 | $54.99$0.55 each | Full 1080p: included | No watermark: included | Never expires: included | Buy |
| Max | 250 | $109.99$0.44 each | Full 1080p: included | No watermark: included | Never expires: included | Buy |
One credit restores one photo. Every pack includes the same everything: nothing is held back for the larger ones, and the only difference is how many photos you get.
From $6.99 for 10 photos, down to $0.44 a photo on the Max pack.
Questions people ask
How do I remove grain from a photo?
Upload it, choose Reduce Noise and download the result. The part worth thinking about is whether you should. If the speckle came from a phone sensor in a dark room or from a cheap scan, removing it is a clear improvement. If it is film grain in an old print, it is part of how the photograph was recorded, and taking it out can leave the image looking like a drawing of itself. Run it, then compare the two at full size before you decide.
What is the difference between grain and noise?
Grain is physical. Film records an image in clumps of silver halide crystals, and those clumps are the picture: on a fast film or a big enlargement you can see them. Noise is electronic. A digital sensor working in low light amplifies its own signal, and the error in that amplification shows up as coloured speckle, usually worst in shadows and flat areas like sky. Grain tends to look organic and even; noise tends to look random and slightly coloured.
Does removing noise reduce the quality of a photo?
It can, and this is the trade that every denoiser makes. Noise and fine detail look similar at the pixel level, so anything that removes one removes some of the other. A gentle pass costs you almost nothing. An aggressive one gives you clean, smooth, plastic-looking skin and flattened fabric, which reads as worse than the noise did. If the result looks like an oil painting, it was too strong.
Should I remove grain from an old film photo?
Usually not completely. The grain is part of the photograph and of how that era looks; a 1950s portrait with every trace of grain removed stops looking like a 1950s portrait. What is worth removing is the speckle your scanner added on top, which is a different thing sitting over the grain. If the print is also damaged or faded, repair that first and judge the grain afterwards, because fixing the fading often makes the grain look less objectionable on its own.
Can you remove grain from a photo for free?
There are free tools, and the usual catch applies: a watermark, a small output, or a card at the end. The free option worth trying first is whatever you already have. Lightroom, Photoshop and most phone galleries include noise reduction, and for mild noise their sliders are perfectly good and give you control that a one-click tool does not.
Why does my photo look blurry after removing noise?
Because it is. Smoothing noise means averaging neighbouring pixels, and averaging softens edges. The fix is not more processing in the same direction: sharpening a denoised photo usually brings the noise back along with the edges. Go back to the original and apply less, or accept some speckle in exchange for keeping the detail.
Does removing noise fix a blurry photo?
No, they are different problems and treating one as the other makes things worse. Noise is speckle on top of the image; blur is the image itself being smeared, by missed focus or by movement. If the photograph is soft rather than speckled, our page on unblurring photos covers what can and cannot be recovered.
What causes grainy photos on a phone?
Low light, almost always. In a dim room the sensor does not receive enough light, so the phone raises the ISO, which amplifies both the picture and the sensor’s own electrical error. Night modes reduce it by combining several frames. When you are photographing an old print, this matters more than any software: shoot near a window in daylight and the phone keeps the ISO low, and there is very little noise to remove afterwards.